
Create an avatar from a photo
No footage? Describe the presenter you want and Roxybit creates the character, or upload a photo you already have. Useful when you need a presenter who is not you.
Before you start
Section titled “Before you start”- A free avatar slot — see Slots.
- Credits: generating a character costs a small fee per image, and you can regenerate until you are happy.
-
On Characters, press Create character, choose From Photo, then pick your starting point.
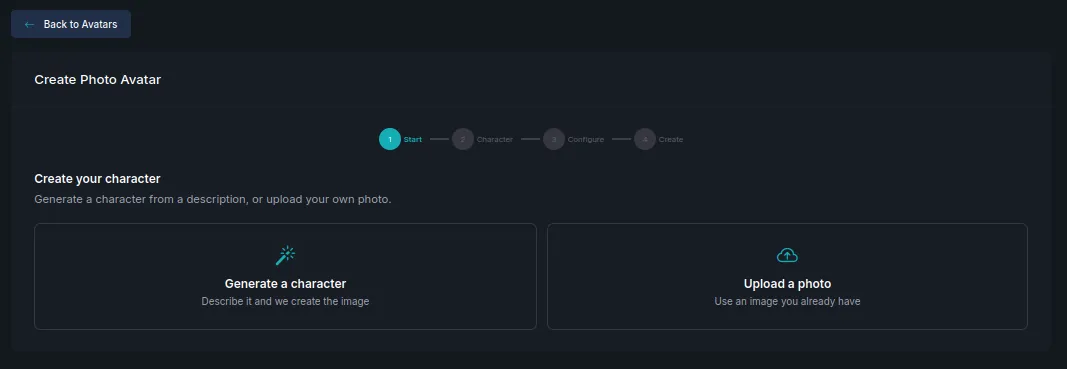
- Generate a character — describe them and the image is created for you.
- Upload a photo — use an image you already have.
-
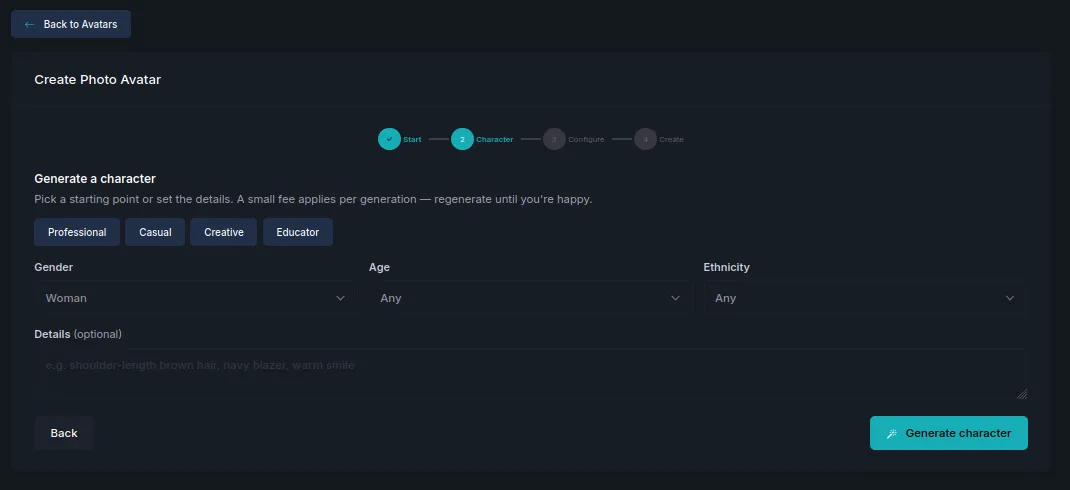
If you are generating: pick a starting point — Professional, Casual, Creative or Educator — then set Gender, Age and Ethnicity. Add Details for anything specific, such as shoulder-length brown hair, navy blazer, warm smile.
-
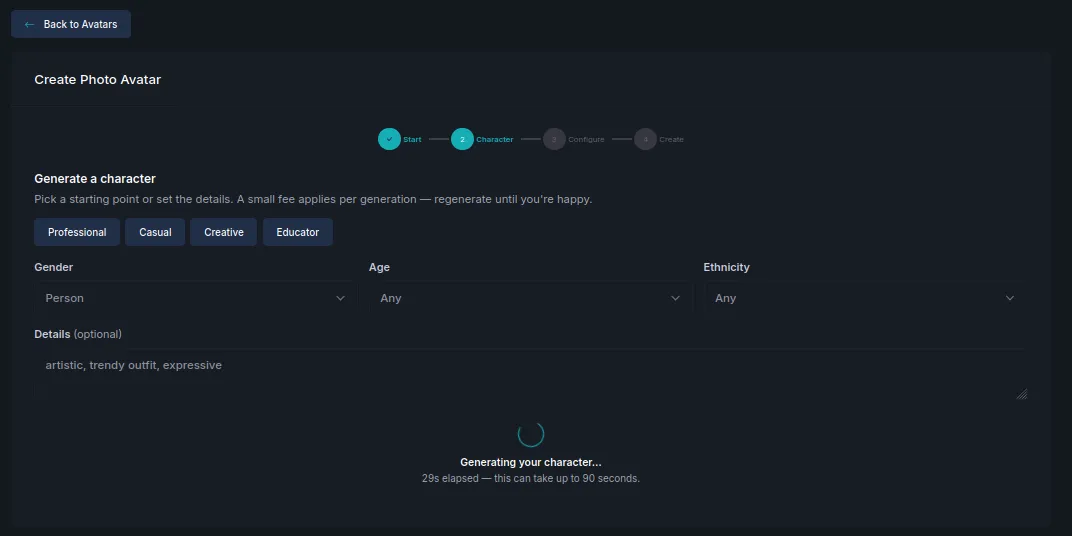
Press Generate character and wait — this takes up to about 90 seconds.
-
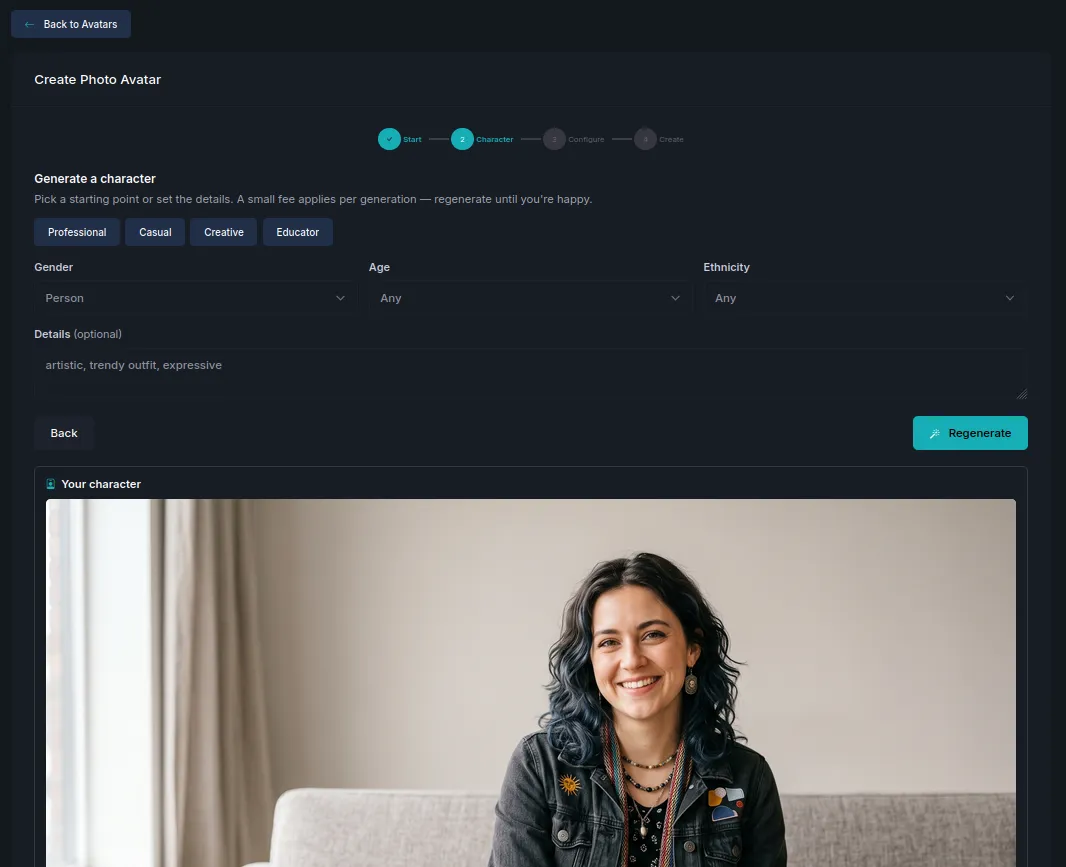
Look at the result. Press Regenerate for a different take on the same brief, or adjust the details first and then regenerate.
-
When you are happy with the character, configure the avatar itself.
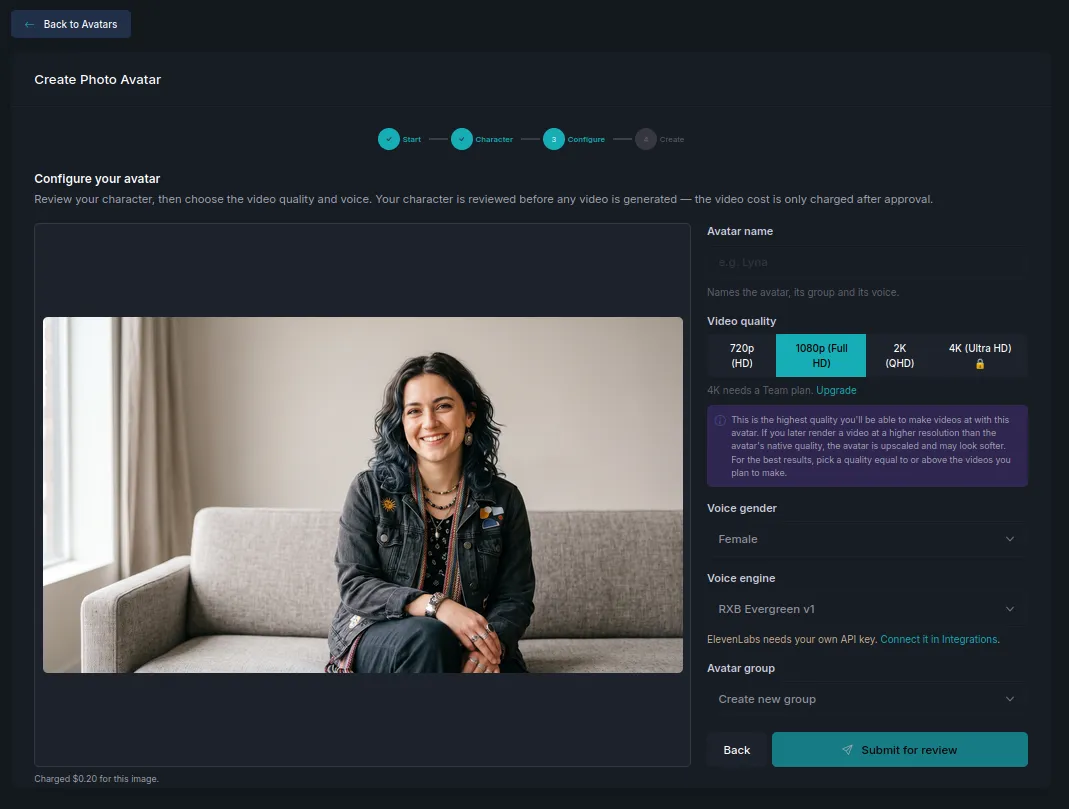
Field What it does Avatar name Names the avatar, its group and its voice. Video quality The highest quality this avatar can ever be rendered at. Voice gender Which voice is generated for the character. Voice engine Which engine produces that voice. Avatar group Adds it to an existing character, or starts a new one. -
Press Submit for review.
Choose the video quality carefully
Section titled “Choose the video quality carefully”Video quality is the one setting you cannot change later. It is the avatar’s native resolution: render a video at a higher resolution than this and the avatar is upscaled, which looks softer than the rest of the frame.
What happens next
Section titled “What happens next”Your character is reviewed before any video is generated, and the video cost is only charged after approval — you are charged for the character image itself, not for a video that never gets made. The avatar sits under In review until it is approved, then moves to My Avatars.
Next steps
Section titled “Next steps”- Add an avatar in the Studio — put the presenter in a video.
- Create from a video — more lifelike, if you can film someone.
- Avatars — slots, groups and the review queue.